
Introduction
Proactive Triggers in servicenow use real-time data to provide end users with actionable insights and platform interactions. These triggers allow admin users to modify rules and actions, displaying rich text pop-up messages to specific users based on predefined conditions.
If you’re new to Proactive Triggers and want to understand their core functionality, check out our in-depth guide on what Proactive Triggers are and how they work. If you’re already familiar and looking to implement them, continue reading this article.
Prerequisites
Before implementing Proactive Triggers, ensure that the required components are installed and configured correctly.
Installing the Proactive Triggers in servicenow
To use Proactive Triggers [sn_pt], you need to download and install the app from the ServiceNow Store. Follow these steps:
- Visit the ServiceNow Store and search for Proactive Triggers.
- Download and install the latest version.
- Ensure that your ServiceNow instance is updated to the latest release to access all features.

Installing and Enabling Proactive Triggers
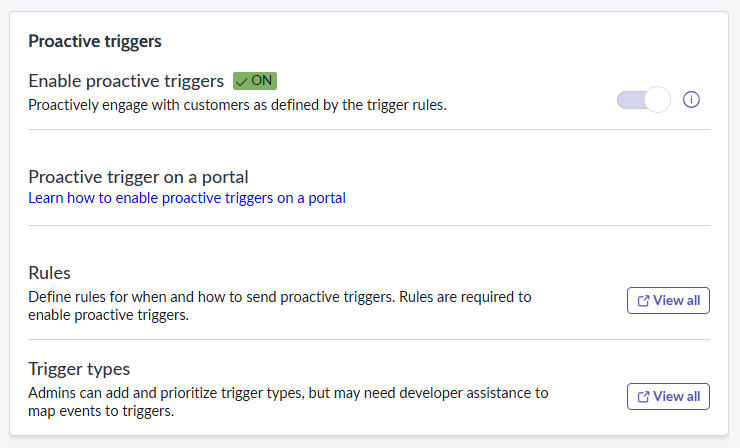
Once the plugin is installed, follow these steps to enable Proactive Triggers:
- Navigate to All > Conversational Interfaces > Settings > General.
- Switch your Application Scope to Proactive Triggers.
- Toggle the Enable Proactive Triggers button.
- Set the system property
com.glide.cs.advanced-chat-popovertoTrue(default isFalse).

Configuring Proactive Triggers
After enabling the feature, you need to configure the proactive trigger rules and actions.
- Navigate to All > Conversational Interfaces > Settings > General.
- Click on Rules.
- You will notice that ServiceNow provides Out-of-the-Box (OOTB) rules, which are inactive by default.
- For this tutorial, we will use the Virtual Agent Greeting rule to display a pop-up message on the Employee Service Center (ESC) Portal.

Creating a New Proactive Action
- Open the Virtual Agent Greeting rule.
- There will be two existing OOTB proactive actions, which are inactive by default.
- Click on New under the Proactive Action Related List to create a new action.
- Fill in the details as follows:
- Name: Greeting
- Applies To: Any user
- Active: Checked
- Order: 100
- Message Field:
Hello ${_sys_user.name}, are you facing any issues? I'm here to help! Let me know how I can assist you.
- Submit the record, which will take you back to the Proactive Rule.
Finalizing the Rule Configuration
- Set Delay to
None. - Set Frequency to
Every Time. - Check the Active field.


Testing the Implementation
Now, visit the ESC Portal. You should see a pop-up message appear as configured.

Best Practices for Using Proactive Triggers
- Ensure that proactive messages are relevant and non-intrusive.
- Use automation wisely to avoid unnecessary alerts.
- Test the configuration in a development instance before deploying to production.
- Regularly update trigger conditions to align with evolving business needs.
Conclusion
Successfully implementing Proactive Triggers in ServiceNow can significantly enhance user engagement and streamline IT service management. This is just an example to activate it. To implement a full-fledged solution, contact us. If you need assistance troubleshooting configuration issues, optimizing trigger rules, or ensuring smooth system operations, our expert team is here to help! Contact us today to enhance your ServiceNow experience and drive better business outcomes.
